
How to Beat Scoria in Gears of War: E-Day (Act 4 Double Boss Fight)
The Scoria boss guide for Act 4's Critical Failure — two airborne bugs at once, fire breath and Imulsion sprays, the tank-dump trick, and every safe window.
FAQ
Where is the Scoria fight in Gears of War: E-Day?
Can you fight the Scoria one at a time?
What weapons should I bring to Scoria?
How do you damage a boss that never lands?
Scoria is the mid-campaign boss spike of Act 4: Chapter 6, "Critical Failure," sends Bravo Squad into an Imulsion refinery to shut down a Lightmass converter that's about to turn the surrounding city into a crater — and the chapter's cutscene has Svore Vraahk loosing the refinery's guardians on your squad before you can touch it. What waits inside isn't one boss but two winged Scoria attacking at the same time, and the fight's entire design pushes you toward one habit: never stop moving. If your gun locker is thin, our best weapons tier list covers what to bring before you commit.
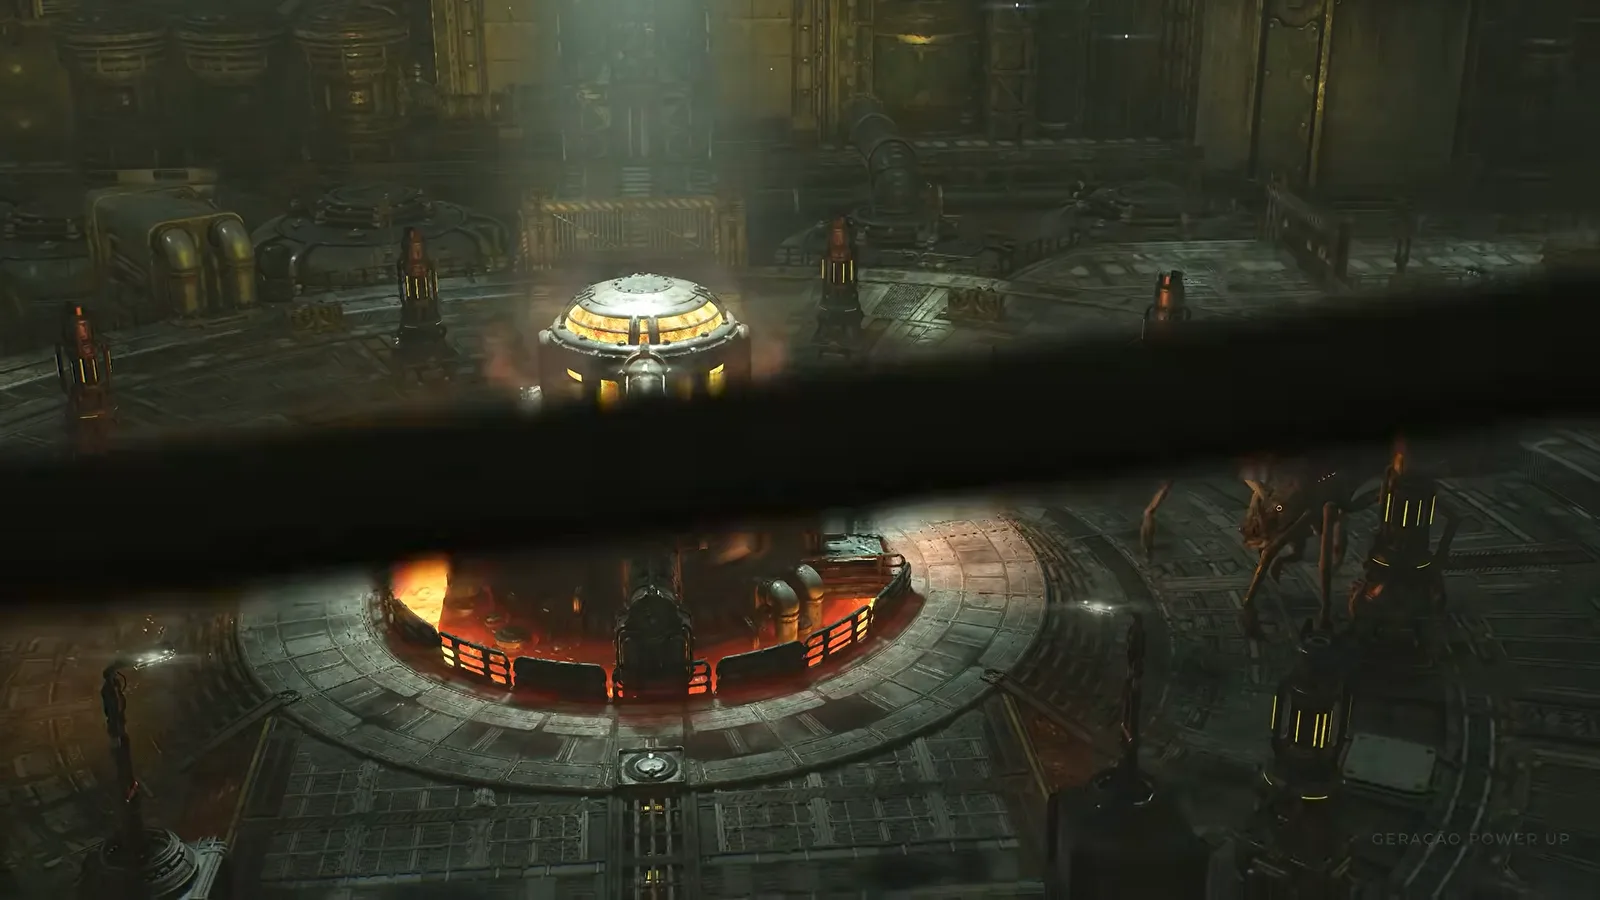
What is the Scoria fight's setup?
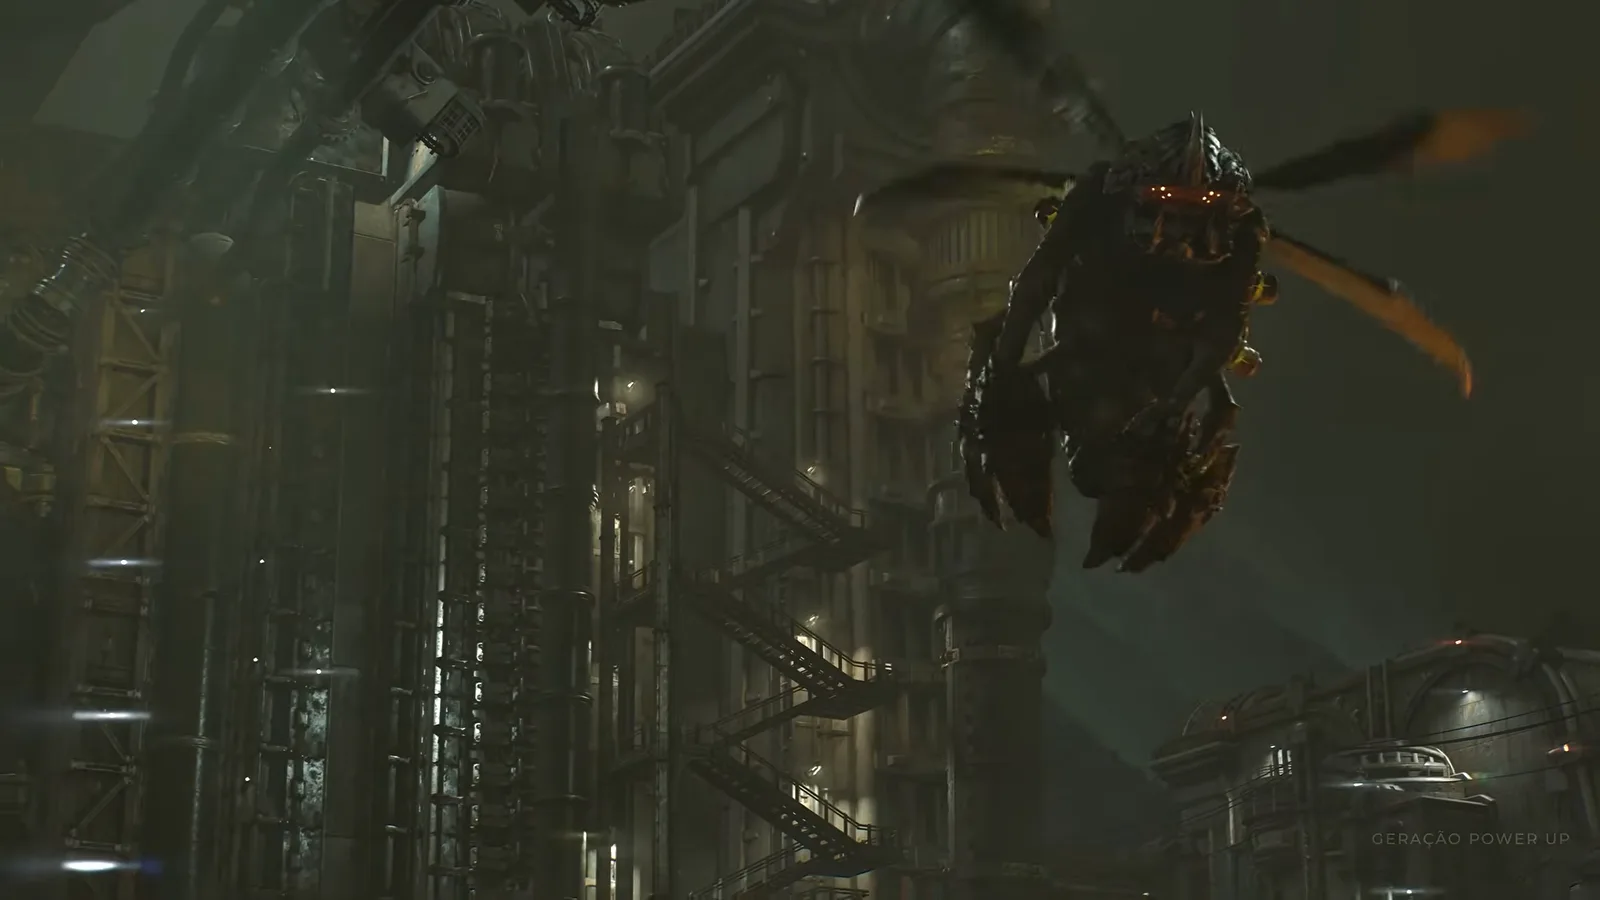
The converter sits in the middle of a multi-tier refinery floor. The objective runs underneath the whole encounter — cut the converter's power while the creatures contest every step — so the fight alternates between boss pressure and pushing toward the machine. The Scoria themselves are enormous winged Locust beasts that hover over the arena, strafe the catwalks, and punish anything that plants its feet.
Squad dialogue frames them exactly right: they're "oversized bugs," they've already destroyed a boarding party before you arrive, and they will not land for you. Everything below assumes you fight them airborne.
Why are there two Scoria at once?
This is the fight's signature twist and the reason most first attempts fall apart. Both creatures are active simultaneously, and the game's own advice is the correct strategy: disperse and focus one down. A single player — or a squad that splits lanes — can't be tracked by both at once, so commit every round to one Scoria until it drops, then turn to the weakened survivor.
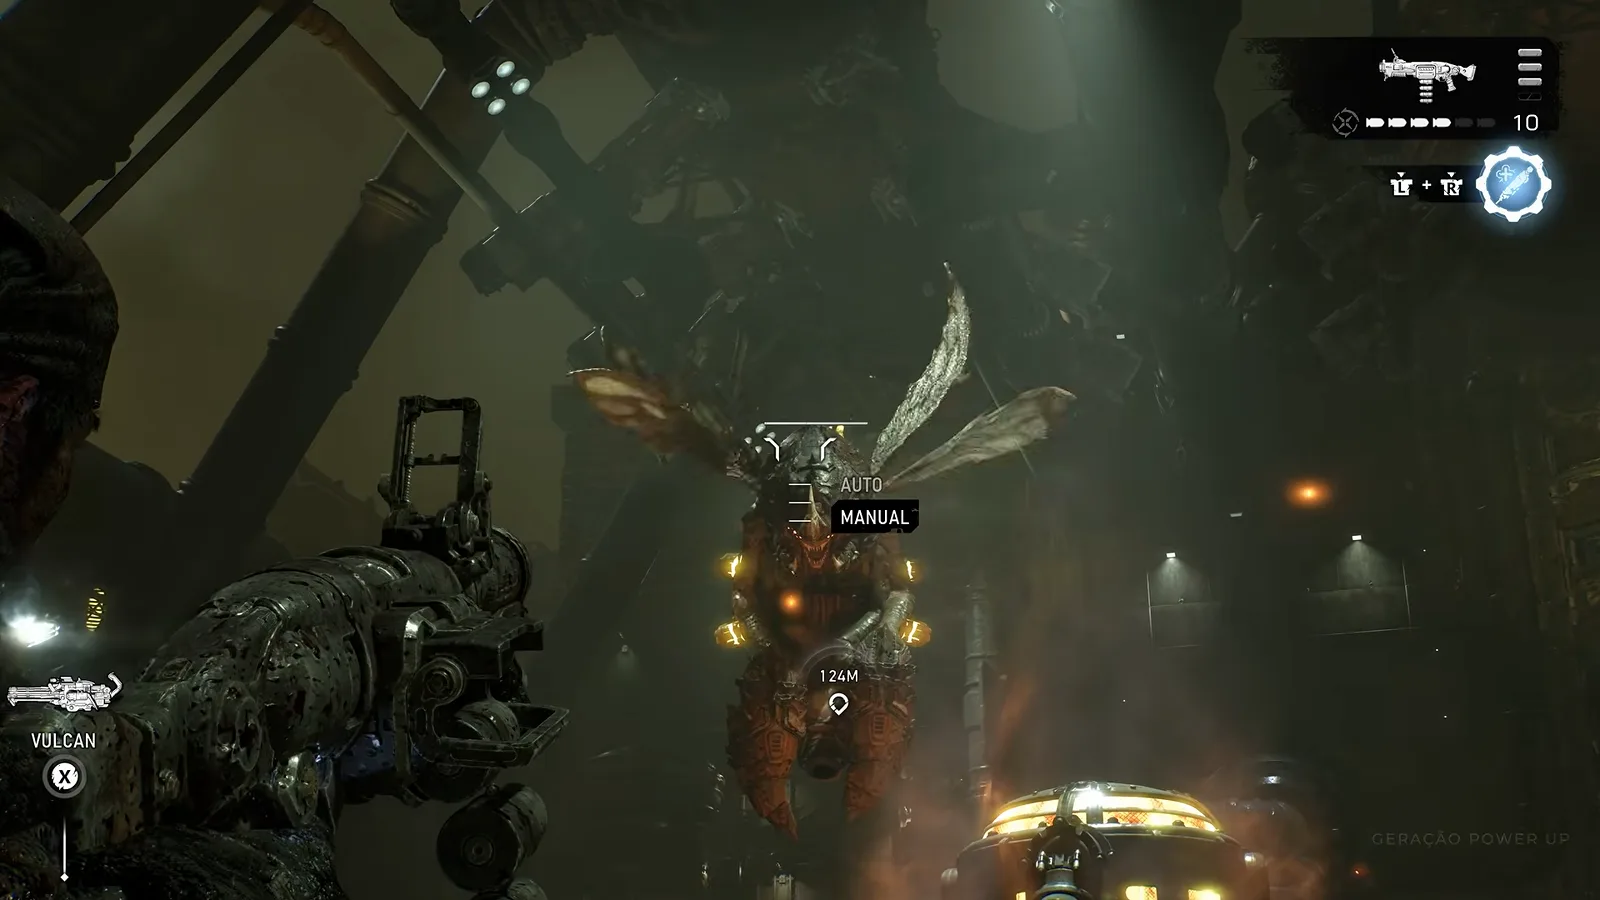
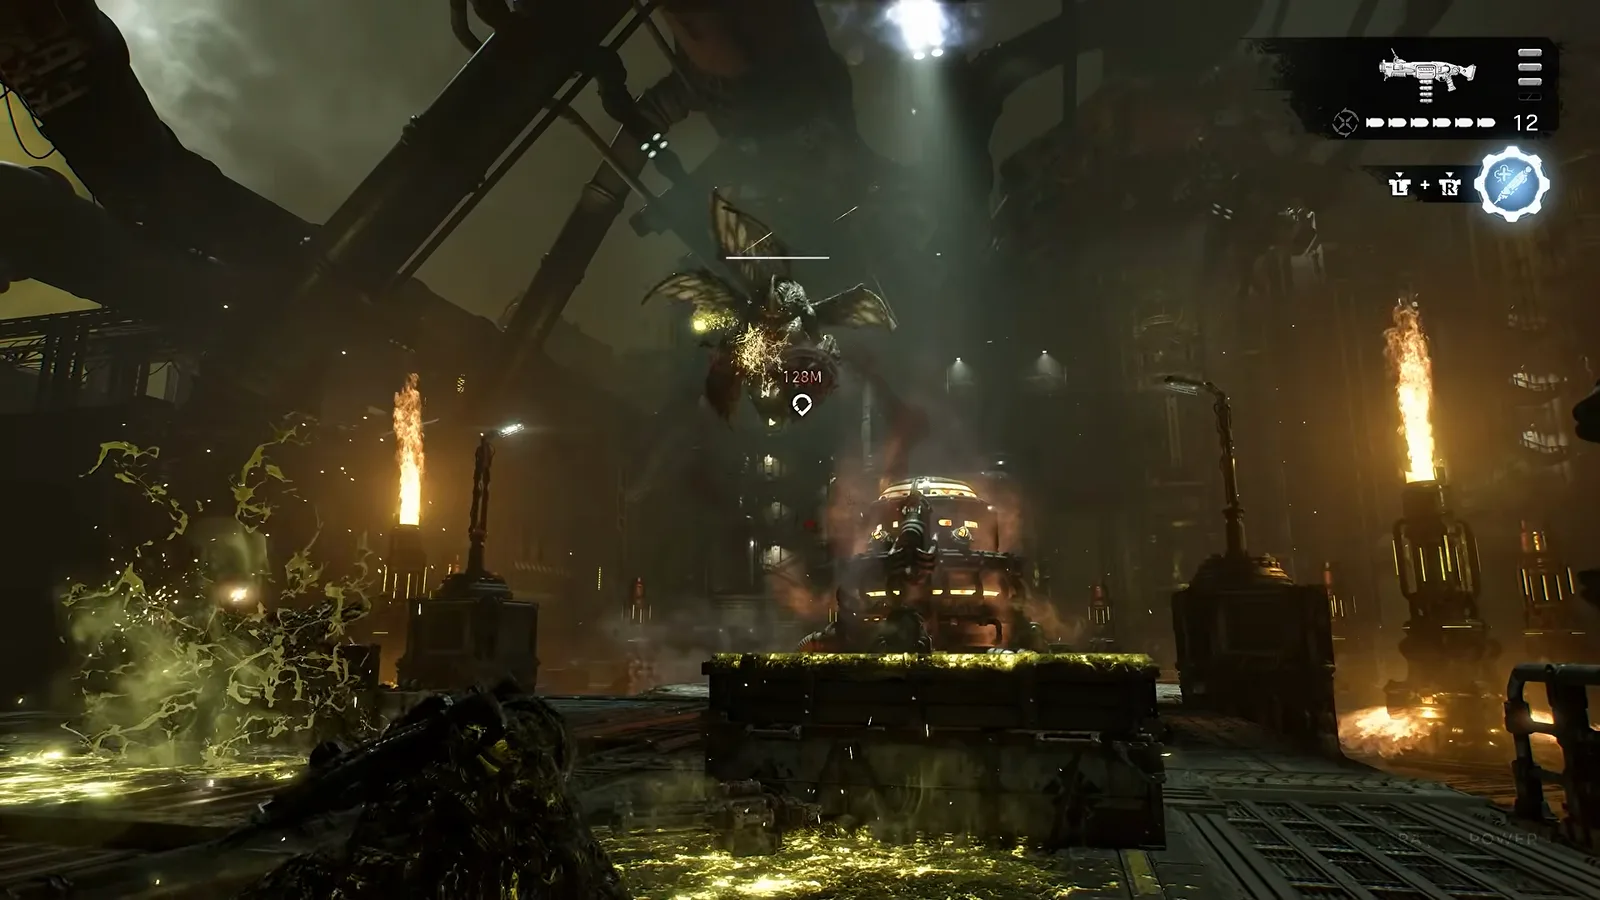
Expect a difficulty spike the moment the first one dies — both runs we studied flag the survivor visibly getting "meaner," with faster aggression and less downtime between attacks. Plan your health and ammo around that second wind rather than treating the kill as the finish line.
Scoria attacks, and how to answer each one
- Fire breath. The Scoria's mouth weapon is a concentrated burn that will delete a careless Gear. The callout that matters: when it rears back to breathe, break line-of-sight or slide to new cover — don't try to tank it.
- Imulsion spray. The other signature attack sprays blazing Imulsion across a swath of the floor. It lingers, so a "safe" spot after the burst often isn't. Move through it, not into it.
- Crush pressure. It closes distance like a landslide — the fight's early minutes literally play out under "this oversized bug trying to crush us." Keep an escape lane open from every cover position you pick.
- Ground adds. Mid-fight contacts come from below while the Scoria circle overhead. Clear them between attack windows or they'll pin you in the open during the next breath.
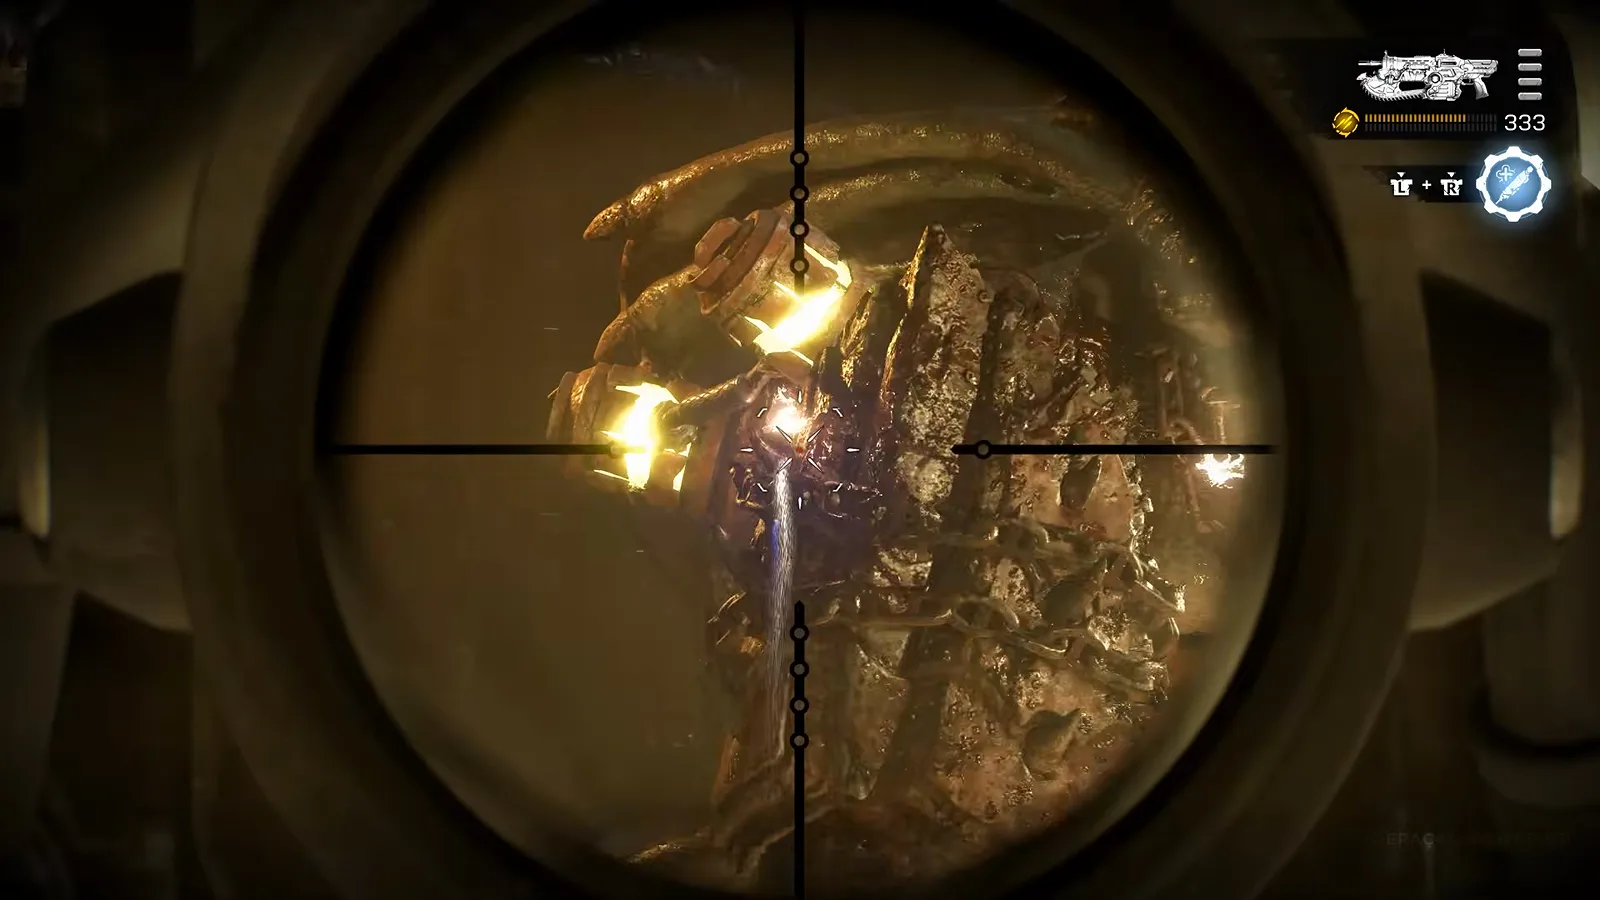
Because both bosses spend most of the fight in the air, ranged weapons carry this encounter. Precision tools let you keep chunking the focused target while it hovers out of shotgun reach:
The Imulsion tank trick
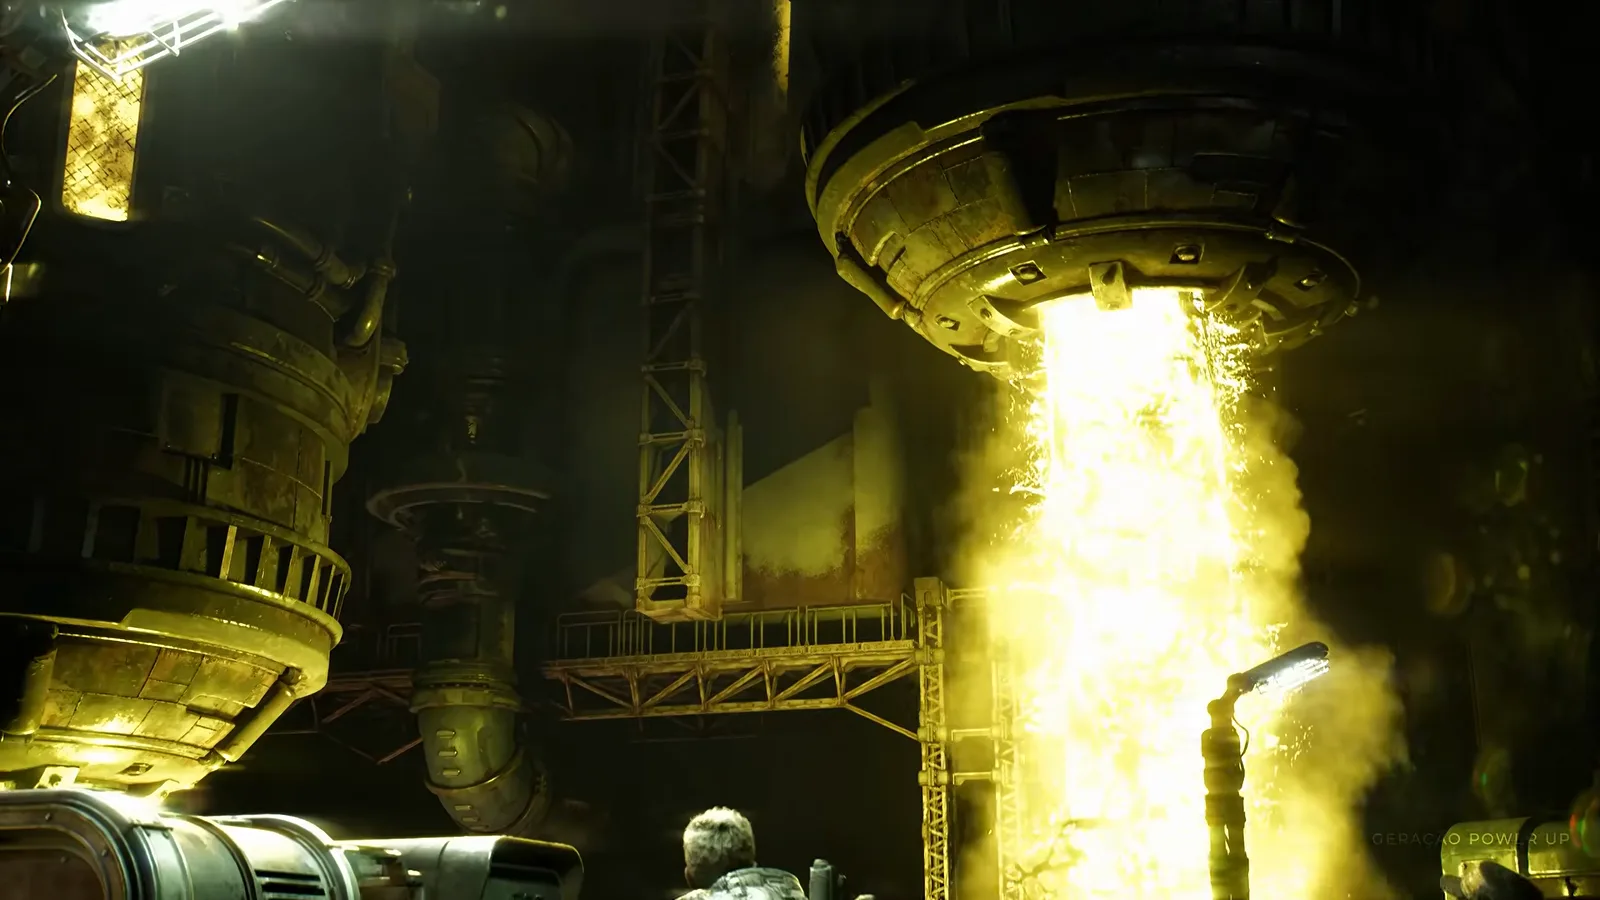
The refinery hands you one environmental finisher, and the squad names it out loud mid-fight: dump the Imulsion tanks. When the fight funnels a Scoria near the tank hardware, dropping the tanks floods the arena floor with burning Imulsion — "drown in it" is the squad's own phrasing — and it's the closest thing the encounter has to a burst-damage button.
Best loadout for the Scoria fight
| Slot | Pick | Why |
|---|---|---|
| Precision | Longshot | The fight is fought at hover range; sustained aimed fire on your focused target is the win condition |
| Heavy | Boomshot or the Gut-Puncher | Heavy burst punishes the hover windows; the Gut-Puncher's manual detonation is made for aerial timing |
| Rifle | Lancer Mk1 / Prototype Lancer | Adds from below and general uptime between breath attacks |
| Tactical | Stim Vaporizer | The fight is constant repositioning — sustain matters more than burst |
Armor your loadout properly before chapter start: our weapon mods guide covers where every Hard Case sits, and the campaign's earlier bosses — the Brumak and the Corpser — are good practice for "damage, reposition, repeat" boss rhythm. The full act structure lives in the walkthrough hub.
Watch the fight

Gears of War: E-Day — All Bosses & Ending (Geração Power Up, 4K/60)
Frames and fight context above come from Geração Power Up's no-commentary full boss compilation — the Scoria segment starts around 16:30 — with mechanics cross-checked against Gaming Fight Club's solo Scoria kill and MichaelXboxEvolved's 4K60 boss battle. All prose here is our own.
Related Articles
guides
Gears of War: E-Day Collectibles Guide: All 140 and Where to Find Them
All 140 E-Day collectibles tracked by act, plus 17 Secondary Objectives and 36 Supply Caches — the finding cues and chapter-select plan to finish the sweep.
bosses
How to Beat Every Brumak Fight in Gears of War: E-Day
Every Brumak fight explained — unarmored City Hall, the armored weaponized Brumak at Fort Vigil, and the evacuation-push chase — plus the right loadout for each.
bosses
How to Beat the Corpser in Gears of War: E-Day (Both Fights)
Full Corpser guide — bait its lunge into support pillars, clear the Wretch and Ticker adds, survive the roof-collapse finale, and win the later rematch.
Was this helpful?
Thanks for the feedback!